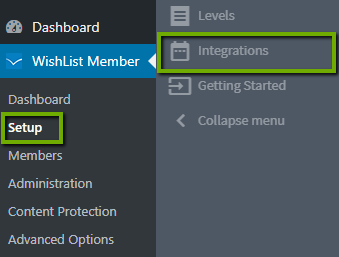
To set up the Infusionsoft (Payment Provider) integration with WishList Member, navigate to the Setup Menu and Integrations sub-menu:
Select “Infusionsoft” from the list of Payment Provider integrations:

Click the “Configure” button:

In the pop-up that appears, you'll enter your App Name and Encrypted key:

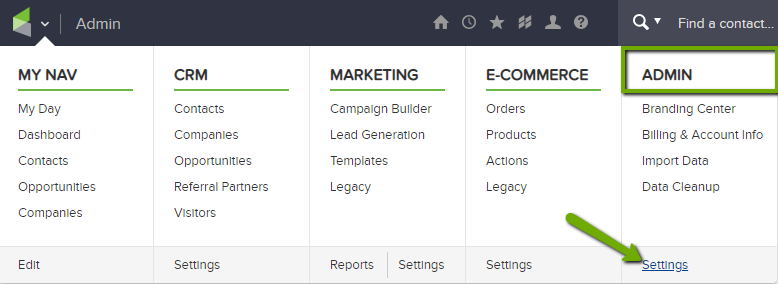
Your App Name is the prefix you used to log into Infusionsoft. For example, if you log in at myapp.infusionsoft.com, your App Name is “myapp”. To get your Encrypted Key, log in to your account with Infusionsoft. Go to Admin, then Settings:
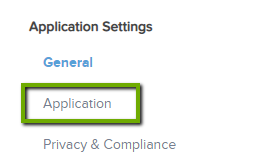
Then, go to Application:
Scroll to the “API” section. You'll see your Encrypted Key here:
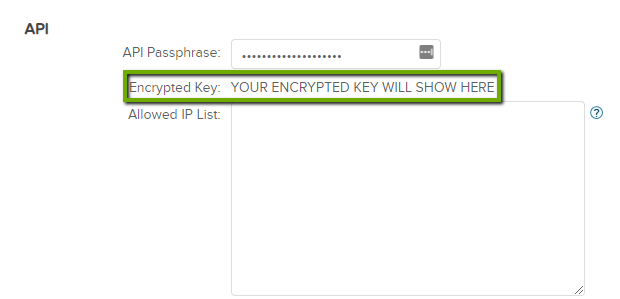
Copy and paste this into the Encrypted Key box provided in WishList Member:
Click the “Save and Close” button and WishList Member will now be integrated with the Infusionsoft API.
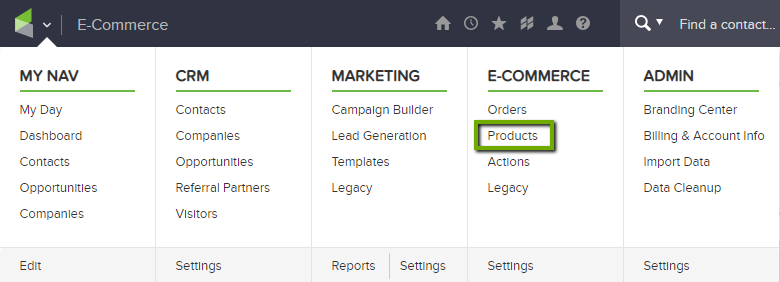
Next, create a new product in Infusionsoft. To do this go to E-Commerce then Products:
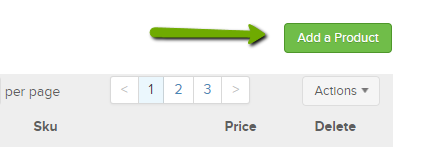
Click the Add Product button:
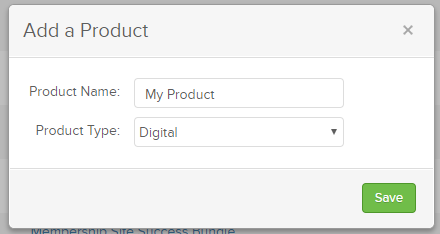
Give your product a name. You can select “Digital” OR “Product” from the drop down:
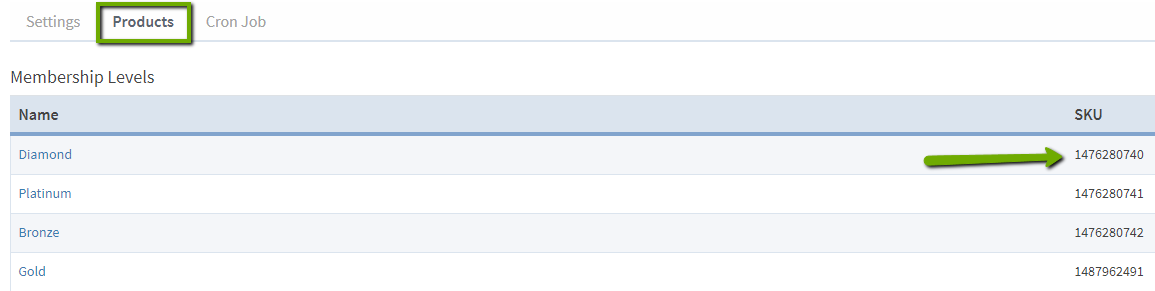
Copy the SKU for the membership level you will associate with this product from WishList Member. You can find it under the “Products” tab in the Infusionsoft integration screen:
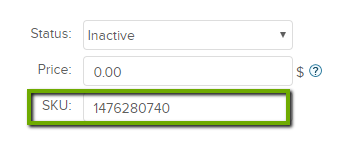
Paste the SKU in to the “SKU” box provided in the Infusionsoft product page:
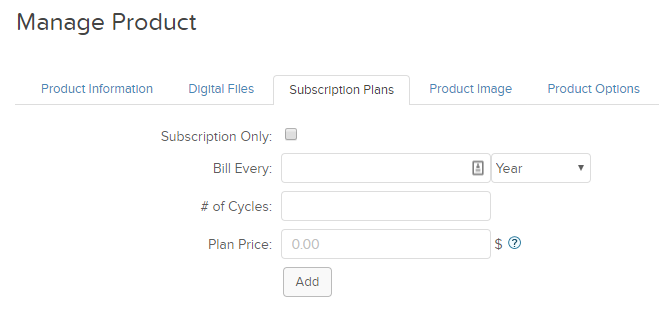
For recurring memberships, use the “Subscription Plans” tab to set up your subscription settings:
Once your product is set up according to your preference, click “Save”.
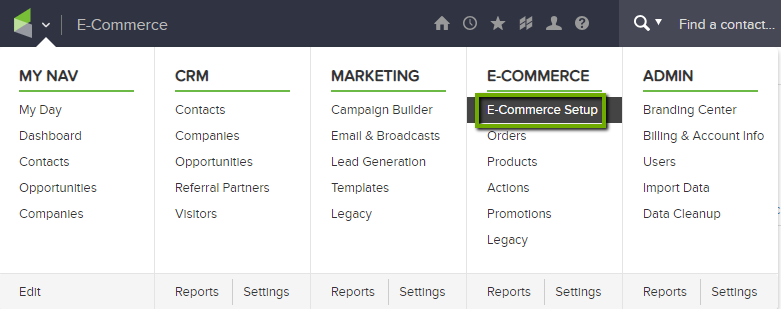
Next, set up an Infusionsoft order form. Go to E-Commerce then E-Commerce Setup:
Then, select the “Order Forms” link under the “Checkout” category:

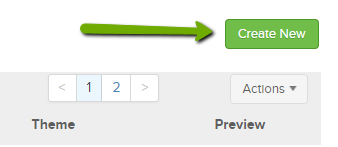
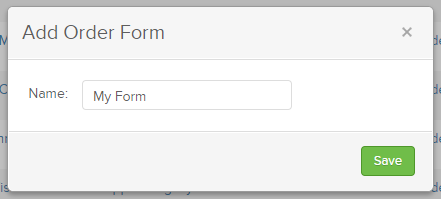
Then, click the “Create New” button:
Give your form a name:
Click the “Thank You Page” tab and select “Web Address” from the “Thank You Page to Display” option:
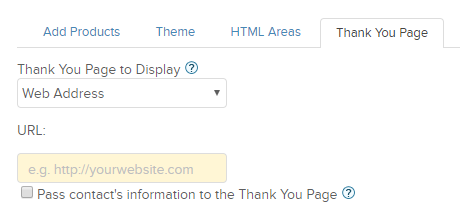
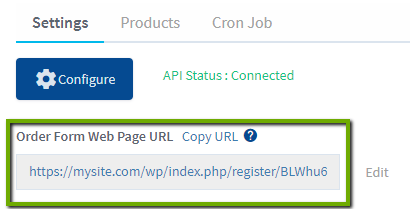
Next, copy the “Web Form URL” from inside WishList Member:
Paste this URL into the “URL” box provided in Infusionsoft. Be sure to check the “Pass contact's information to the Thank You Page” box:
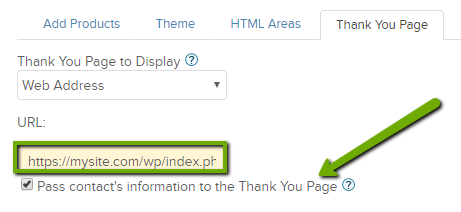
Click Save.
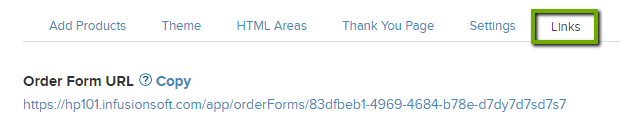
Go to the “Links” tab. Here you'll see a your Order Form URL. Copy that link and use it to insert a “Join Now” button on your sales page:
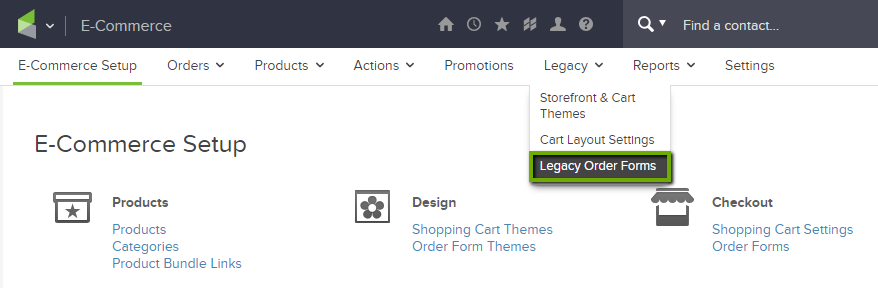
If you'd prefer to use a Legacy Order Form instead of a shopping cart form, go to E-Commerce, Legacy and Legacy Order Forms:
Click the “Add a Legacy Order Form” button:

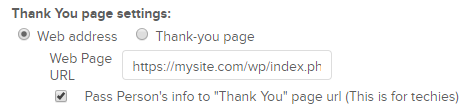
Set the order form options according to your preference. Scroll down to the “Thank You page settings” section. Select “Web Address” and paste the Order Form Web Page URL from WishList Member into the box provided. Again, be sure to check the “Pass Person's info to the Thank You page url” option:
Click Save.
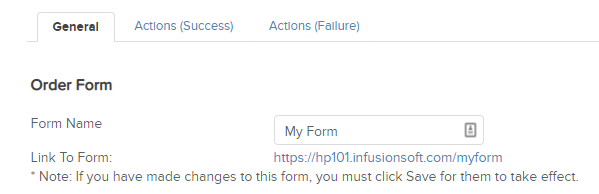
Grab the “Link to Form” URL and use this to insert a “Join Now” button on your sales page:
Note: Information on the following Infusionsoft topics can be found in the following Knowledge Base articles:
