
Are you looking for a way to allow for the purchase of individual pieces of content? Or perhaps you want to provide one member (or a few) with access to a certain page on your site. The WishList Member Pay Per Post feature can handle this for you (and more).
Pay Per Posts can be used to set individual protection and access for specific pieces of content. This includes WordPress posts, pages and custom post types. So, it technically can be used as “pay per content” since it handles more than posts.
This means you can provide a member with access to a piece of content without using membership levels.
More details regarding WishList Member Pay Per Posts are explained below (including a Video Tutorial).
—
We are going to cover the following topics in this article.
—
Creating and Editing Pay Per Posts
A WordPress post, page or custom post type can be enabled as a Pay Per Post. This can be configured in the WishList Member settings area under the edit content section.
The screenshot example below shows a post named Pay Per Post 01. The post needs to first be set as protected using WishList Member.
—
You can then set “Enable Pay Per Post for this content” to Yes. The post is now protected and can be used as a Pay Per Post.
This means you can allow users to register for access to the post for free or you can set up an integration in order to accept payment before providing access to the post. You can even manually assign access to any users you’d like.

—
Enable Pay Per Post for this content. If enabled, the piece of content is set as a Pay Per Post. A Pay Per Post can be accessed by users who have been granted access to this specific piece of content.
Payment Provider Integration SKU. WishList Member includes integrations with payment providers. This is located in the Setup > Integrations > Payment Providers section. This product SKU can be used if required for the integration process.
Allow Free Registration for this content. If enabled, a Free Registration URL will be displayed and a user can register for access to the piece of content for free. The Registration URL will direct to a page with a registration form that can be used to register.
User Access. Click the Update User Access button and the Update User Access popup will appear. A list of the users on the site will be displayed and you can grant access to who you would like to access the piece of content.
After Login. If enabled, this piece of content will be set as the After Login page for users who can access it. This means the piece of content will be displayed to the user each time they login.
—
More Details on User Access
As noted, once you click on the Update User Access button, you’ll be able to grant access to the piece of content for any users on your site.

—
An advanced search is available to find specific users. You can search by membership levels or by users. You can also search based on users who have been granted access to the Pay Per Post and those who have not.

—
The toggles under the Access column can be enabled to allow any of the specific users with access to the piece of content.
Each user except Henry Tester has been granted access to the piece of content in the screenshot example below. This means all the displayed users can access the piece of content on the live site except for Henry Tester.

—
You can set any post or page or custom post type as a Pay Per Post and can grant access to any users on your site.
—
The Pay Per Posts Section in WishList Member
You are able to view all the pieces of content that have been set as Pay Per Posts in the Setup > Pay Per Posts section in WishList Member.
This provides a quick view and the ability to make any edits to the content.

—
Settings Tab
The Settings tab includes optional settings. We’ve gone into more detail below to help you decide if you would like to enable or configure any of these settings.

—
Automatically Enable Pay Per Post for New Content. If enabled, all newly created posts, pages and custom post types will automatically have the Pay Per Post feature enabled. This means any new posts, pages and custom post types will automatically appear in the Pay Per Posts tab in this section when created and can be configured accordingly. This is useful if you plan to have a lot of Pay Per Posts.
Require Captcha Image on Registration Page. If enabled, a reCAPTCHA will be displayed on the registration form that must be confirmed in order to register. This can help reduce spam registrations. The Configure button can be used to configure the reCAPTCHA options for this setting.
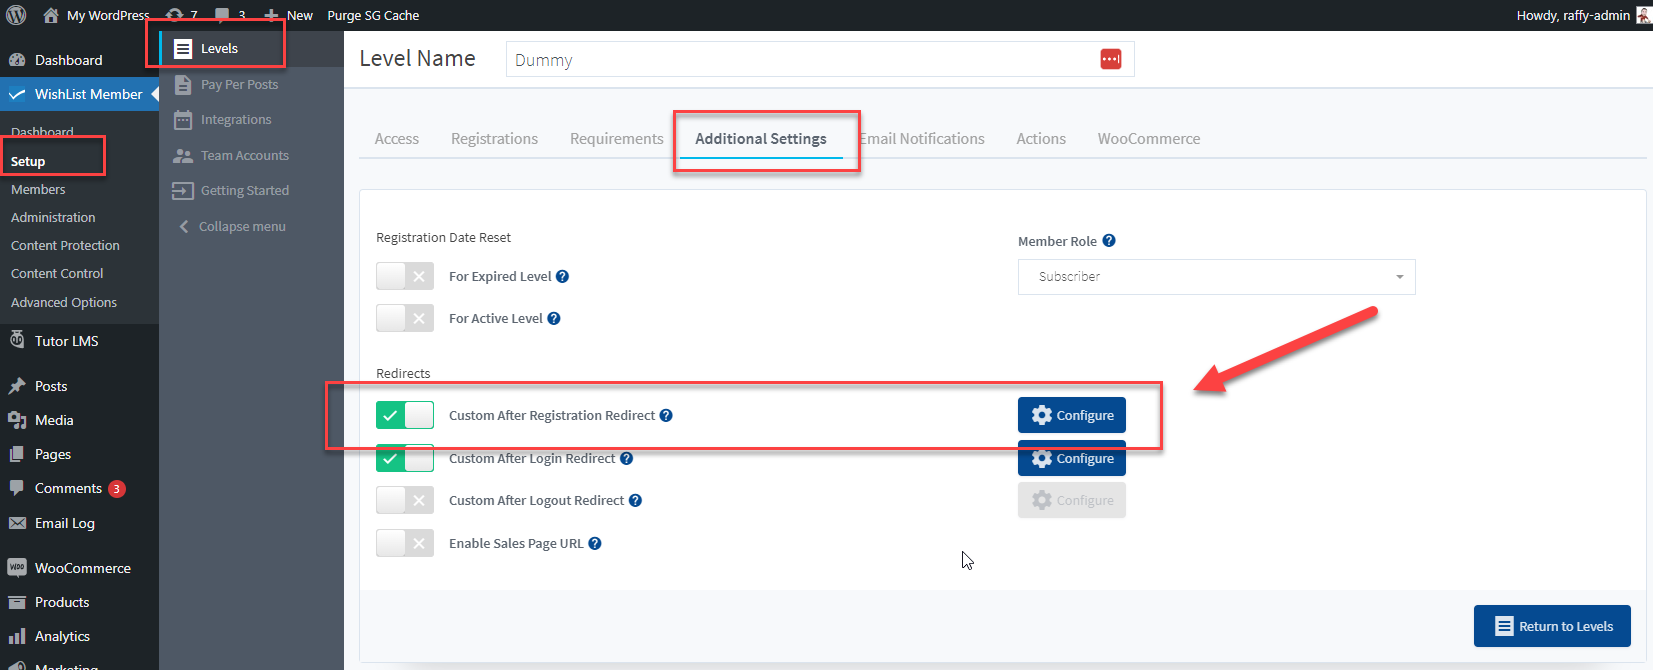
Custom After Registration Redirect. If enabled, a custom After Registration Redirect can be configured using the blue Configure button. The After Registration page will be displayed to users after a successful registration to this Pay Per Post. If disabled, the After Registration Redirect configured in the Advanced Options > Global Defaults > Redirects section will be used.
Note: This page will only appear one time for the user immediately after registration. The After Registration page cannot be viewed again. The After Login page will appear to the user after each login moving forward.
Custom After Login Redirect. If enabled, a custom After Login Redirect can be configured using the blue Configure button. The After Login page will be displayed to users after a successful login. If disabled, the After Login Redirect configured in the Advanced Options > Global Defaults > Redirects section will be used.
—
Pay Per Posts Tab
The Pay Per Posts tab displays a list of any pieces of content that have been set as Pay Per Posts.
In the screenshot example below, two posts and one page are showing as Pay Per Posts.

—
Mousing over a row will display two icons on the far right.
An icon to edit the Pay Per Post settings for the content and an icon to edit the piece of content.
Pay Per Posts – Edit Pay Per Post:

—
Click the Edit Pay Per Post icon and the Pay Per Post settings for that specific piece of content will be displayed.
Edit Pay Per Post Icon

—
Access Tab

Enable Pay Per Post for this content. If enabled, the content is protected and can be used as a Pay Per Post.
This means you can allow users to register for access to the post for free (if the “Allow Free Registration for this content” option is enabled below) or you can set up an integration in order to accept payment before providing access to the content. You can also manually assign access to any users you’d like.
Allow Free Registration for this content. If enabled, a Free Registration URL will be displayed and a user can register for access to the piece of content for free. The Registration URL will direct to a page with a registration form that can be used to register.
—
Notifications Tab

—
New Member Registration. Click the Edit Notifications button to enable and configure the User Notification and Admin Notification email messages that can be sent when a member registers for this Pay Per Post.
Incomplete Registration. Click the Edit Notifications button to enable and configure the User Notification email messages that can be sent when a member fails to complete the registration process for this Pay Per Post.
—
Pay Per Posts – Edit Content in WordPress:

—
Click the Edit Content in WordPress icon and the WordPress settings for that specific piece of content will be displayed in a new browser tab.
Edit Content in WordPress Icon

—
This is a quick way to edit any of the Pay Per Post settings for the piece of content.

—
Selling Pay Per Posts
You can sell access to a Pay Per Post by integrating it with a payment provider. This is similar to setting up an integration with a membership level. The main difference being the Pay Per Post is the product instead of a membership level.
Each Pay Per Post has a SKU. A SKU is a unique product number and is often used when integrating a product with a payment provider.
You can access the SKU in the WishList Member > Pay Per Post Access section when editing the piece of content in WordPress.
The screenshot example below shows a post that has been enabled as a Pay Per Post. The SKU appears as payperpost-22 in this case.

—
That SKU can be used to integrate the product (the Pay Per Post) with a payment provider.
You can integrate with any of the available options in the Setup > Integrations > Payment Providers section of WishList Member. Each integration process is a bit different based on the payment provider selected. They will either list the enabled Pay Per Posts as products that can be integrated or they may ask you to paste in the SKU when needed.
In the example below, we have activated Stripe as the payment provider and it shows the Pay Per Posts in the Products tab. This means each Pay Per Post could be integrated with Stripe to require payment to access the Pay Per Post.

—

—
Note: This is just one example using Stripe. You have the option to integrate with any of the available payment providers.
You can run through the integration process with a payment provider for any Pay Per Post.
—
Displaying Pay Per Posts to Users
Users with access to the Pay Per Post can access it on the live site if they are logged in.
You can include your Pay Per Post content as pages and posts on your WordPress site.
That being said, an easy and effective way to display a list of all Pay Per Posts a user can access is the mergecode. The Pay Per Post mergecode can be inserted into any page or post and it will provide a list of links that will direct the user to the corresponding content.
This mergecode is useful for a dashboard page or anywhere you want to provide quick and easy access to users with Pay Per Posts.
The WishList Member Mergecode and Shortcode insert option can be used when editing a page or post with the WordPress Gutenberg editor.
This blue icon appears on the Classic Block of the Gutenberg editor and is a fast way to create and add mergecodes and shortcodes to a page or post.
The screenshot example below shows a post named Your Content using the WishList Member Merge code and Shortcode inserter in the Classic Block to insert the Pay Per Post mergecode.

—
The Shortcode Creator popup appears and provides options related to how the list of Pay Per Posts will be displayed.

—
Sort By. The listed Pay Per Posts can be sorted based on:
– Date Assigned. The date the content was assigned to the user.
– Date Published. The date the content was published on the site.
– Post Title. Alphabetical order of the content titles.
Sort Order. The listed Pay Per Posts can be sorted in ascending or descending order.
Shortcode Preview. A real time preview of the code will be created and displayed based on the options selected.
Click the Insert Shortcode button and it will be inserted into the page.

—
That post will now display a list of Pay Per Posts the view can access.
The example screenshot below shows a logged in user who has been granted access to the two listed Pay Per Posts. The user can click a provided link to be directed to the specific piece of content.
Note: Anyone who clicks a link and doesn’t have access to the Pay Per Post will be directed to the Non Members page.

—
With the popularity of the various Page Builders available (Elementor, Divi, etc.) there is also a Shortcode Creator that is available in the Tools section of the WishList Member Dashboard.
This can be used to quickly create and copy a mergecode or shortcode and paste it into any page or post when using any Page Builder.

—

—
WishList Member Pay Per Posts are a powerful tool you can use to provide specific content to specific members.
We have also included a video tutorial that runs through the various options and settings for Pay Per Posts. It touches on a number of helpful tips and walks you through the processes discussed in this article.
